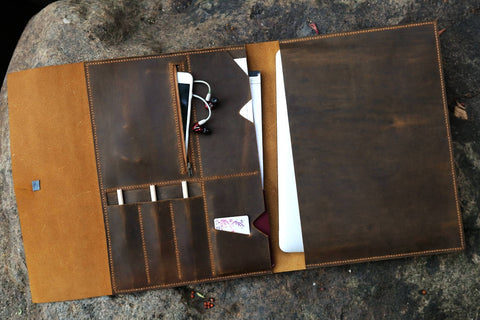
How to Distress Leather: A Step-by-Step Guide
Ever wondered how to give your leather goods a vintage, rugged look? Distressed leather has a timeless appeal that adds character to your accessories. In this guide, we'll walk you through how to distress leather items like a pro. Ready to transform your leather pieces? Let's dive in!
What Is Distressed Leather?
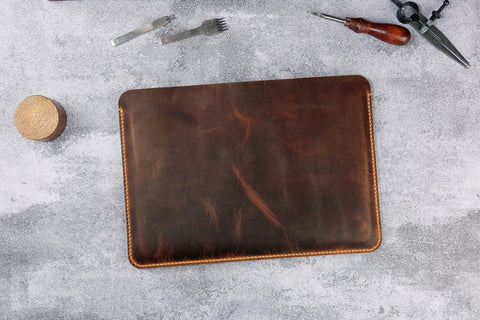
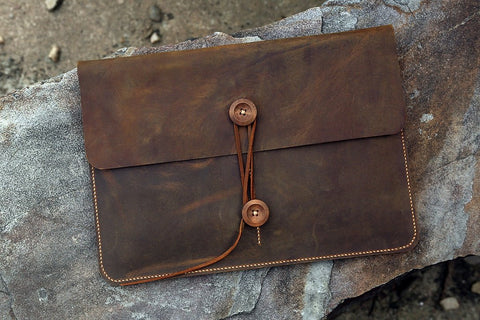
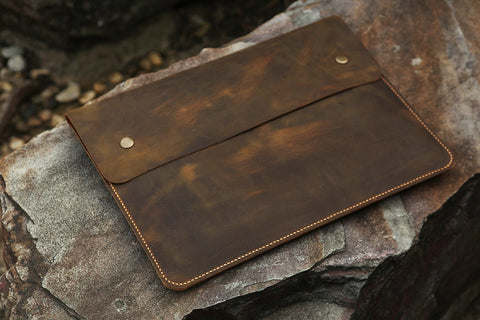
Distressed leather refers to leather that has been treated to look aged and worn. This style not only adds a unique aesthetic but also enhances the texture of the leather. It's perfect for those who love a rustic or vintage vibe.
Which Leather Goods Are Best for Distressing?
Not all leather items are created equal when it comes to distressing. Here's a list of leather goods that are particularly suitable:
- Leather Notebook : Personalize your journal with a vintage touch.
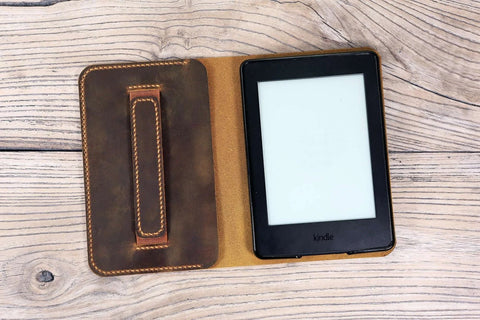
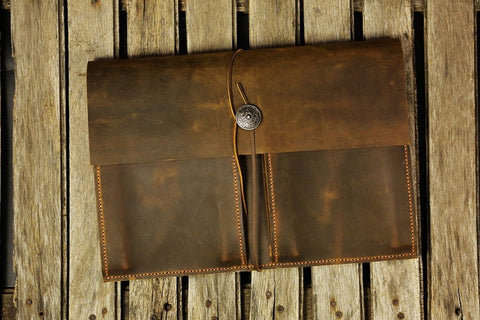
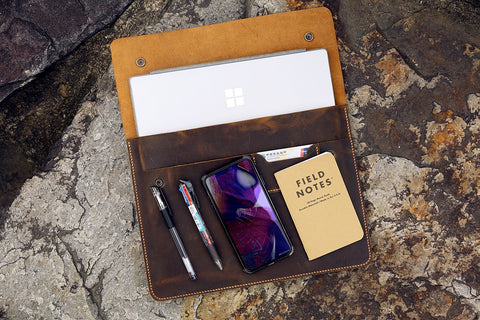
- Leather Tablet Case : Give your tech accessory a rugged makeover.
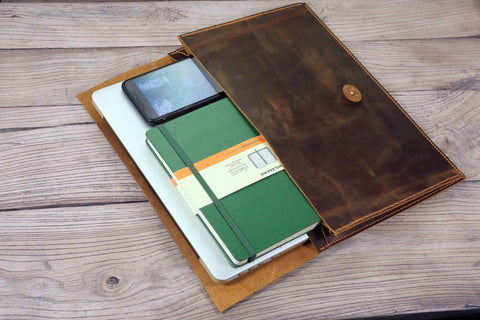
- Leather Laptop Sleeve : Combine protection with style.
- Leather Wallet : Make everyday use more fashionable.
- Leather Phone Case : Stand out with a unique phone accessory.
- Leather Bags : Turn heads with a distressed leather bag.
- Leather Belt : Add character to your outfit.
- Leather Key Organizer : Keep your keys in style.


Materials You'll Need
To start distressing leather, gather the following materials:
- Fine-grit sandpaper
- Rubbing alcohol
- Cotton cloths
- Leather conditioner
- Soft-bristle brush
Step-by-Step Guide to Distress Leather
1. Clean the Leather
Before you begin, make sure your leather item is clean. Wipe it down with a damp cloth to remove any dirt or dust.
2. Sand the Leather
Use fine-grit sandpaper to gently rub the surface. Focus on areas that would naturally show wear, like edges and seams. This step creates subtle imperfections that give distressed leather its charm.
3. Apply Rubbing Alcohol
Dampen a cotton cloth with rubbing alcohol and lightly wipe the leather. This process dries out the leather slightly, enhancing the distressed effect. Be careful not to over-saturate the material.
4. Crease and Fold
Gently bend, twist, and fold the leather to create natural-looking creases. This is especially effective on items like leather wallets or leather belts.
5. Brush the Surface
Use a soft-bristle brush to add more texture. Brush in different directions to achieve an uneven look typical of distressed leather.
6. Condition the Leather
Finish by applying a leather conditioner. This restores some moisture and keeps the leather from becoming too brittle.
Tips and Tricks
- Test First : Always test the distressing process on a small, hidden area to see how the leather reacts.
- Less Is More : It's easier to add more distressing than to reverse it. Start slowly.
- Use Quality Leather : High-quality leather yields the best results when distressing.
Q: Can I distress faux leather?
A: Faux leather doesn't respond to distressing the same way real leather does. The process is best suited for genuine leather items.
Q: Will distressing shorten the lifespan of my leather goods?
A: If done carefully and followed by proper conditioning, distressing shouldn't significantly affect durability.
Q: Can I dye the leather after distressing it?
A: Yes! Dyeing can enhance the distressed look. Just make sure to use dyes suitable for leather.
Final Thoughts
Distressing leather is a fantastic way to breathe new life into your accessories. Whether it's a leather notebook or a leather key organizer, the distressed leather look adds character and uniqueness. Have you tried this technique before? Share your experiences in the comments below!
If you found this helpful, don’t forget to share it with your friends!
