


Shaping of leather handicrafts
Introduction
Delve into the intricate world of leather art with our guide on the transformative process of shaping. Harnessing the remarkable plasticity of vegetable tanned leather, artisans breathe life into their creations, infusing them with visual splendor and ingenuity. We unfold the subtle art of leather carving techniques and modeling, revealing how hands, tools, and even molds are used to sculpt this versatile material into stunning handcrafted leather modeling pieces. Learn about the finesse of hand-shaping leather art, the precision of adhesive leather crafting, and the innovation of contemporary leather design techniques. Whether it’s molding vegetable tanned leather for small leather goods or utilizing cow bone sticks for intricate details, each method contributes to the rich tapestry of leatherwork. Join us as we explore the processes from leather pattern assembly to the final application of hardeners, showcasing how every manipulation in leather art shaping methods brings forth a unique masterpiece.
💡 How to shape the leather craft?
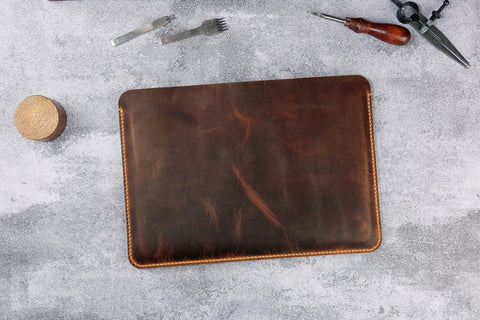
By utilizing the excellent plasticity of vegetable tanned leather, every piece of leather carving can incorporate the author's visual beauty and creative ideas, making it a unique artwork. Leather shaping requires soaking vegetable tanned leather in water to soften its tissue structure. Before the wet vegetable tanned leather dries, the leather is wrapped on a pre made model, usually directly with fingers or with the help of hard grinding tools, using techniques such as pulling, twisting, pressing, pinching, tapping, squeezing, scraping, drilling, etc., to gradually present the desired image of the leather. So repeatedly, the entire process takes some time until the leather reaches the desired shape as designed. Finally, apply a layer of hardener on the back of the leather to enhance its firmness. There are three common shaping techniques, and the specific steps are as follows:
Step 1: Use hand force to shape
Cut vegetable tanned leather into the desired shape, as the molded leather will shrink slightly, it needs to be cut larger

Soaking vegetable tanned leather in water

After pinching out excess moisture, shape with hands according to the desired shape

Shows that wet vegetable tanned leather can be bent and molded according to its shape, with greater force required at this time

Final shape adjustment

Completed!!!

The molded blades are part of the leather art piece "Peace is Blessing", as shown in the following figure.

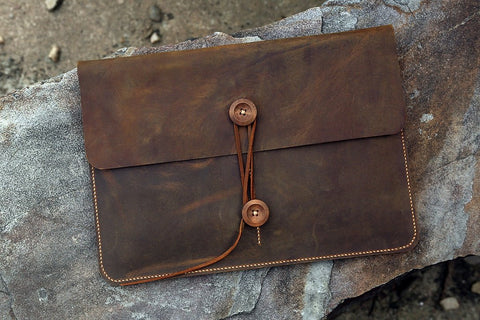
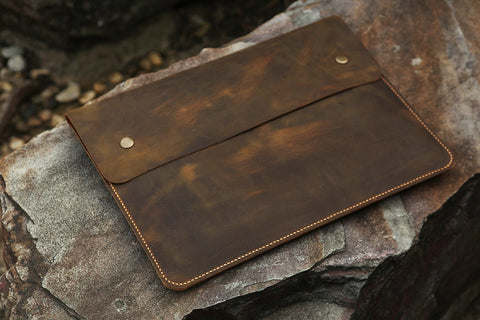
Step 2: Adhesive shaping
The expression technique of adhesive shaping is also one of the common shaping techniques in leather art works, and its application is often seen in contemporary design. Here, a basic method of simulating the plastic properties of adhesive is presented, as shown in the following figure.
Applying glue on the surface of leather and preparing for assembling the formed pattern

Pattern collage, where the pattern can exhibit a faint layering effect


After assembling the pattern, apply white glue to the pattern and subsequent parts that need to be pasted with leather,Attention should be paid to applying white glue to every gap in the following figure

Pasting sheepskin onto the assembled leather pattern and pressing it with your hand to create a rough shape

Using cow bone sticks and shaping tools to shape details


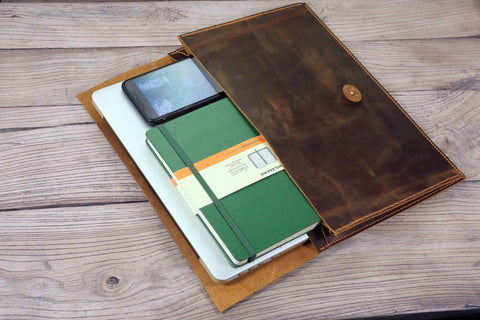
Final product

Step 3: Mold shaping
Various molds can be used to shape vegetable tanned leather, as shown in Figures.
Soaking and wetting vegetable tanned leather with water after cutting into shape

Using a hemispherical shaping mold, place the wet vegetable tanned leather inside.


Apply pressure evenly by hand to slowly deform the vegetable tanned leather with the mold

Using a heavy metal G-shaped clamp to clamp vegetable tanned leather, let it sit for several hours to set it in shape

Removing the set vegetable tanned leather

Drilling, assembly, pasting, decoration, and polishing of edges
For the shaping of some small leather goods, wooden molds can be used as the bottom mold for shaping vegetable tanned leather, and nails can be nailed along the edge of the mold with a nail gun to prevent the leather from rebounding during the drying process.
Wood Mold Plant Tanned Leather Shaping
Various molds can be used to shape vegetable tanned leather, as shown in Figures.